Featured Post

Rain Puddles Design Privacy Policy (Click for entire post)

I'm working on a new privacy policy for my followers, but for now, you should know that if you comment on my site, my site collects da...

Monday, January 31, 2011

You're one of a kind!


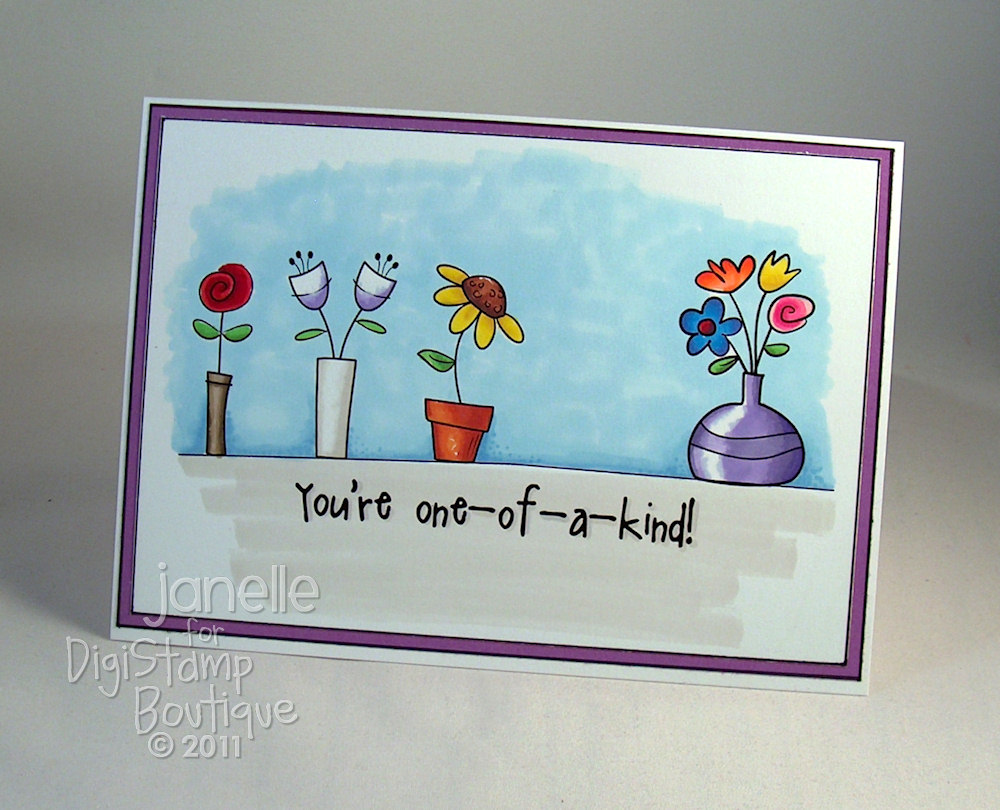
My card today uses all four of the flowers from the Flower Doodles set at DigiStamp Boutique. I love the whimsy feel to them and had to put all of them on the card. Yep. There are four separate images! I just made a curved line across the bottom of the vases to tie them all together.

This card is a reminder that there's no other day like today, there is no other person uniquely made like you, and there is no other moment than the present to pursue being what you want to be. Any other day of our lives can be just as beautiful and in just as fun of a container, but it's the only one that is for us in today. Let's enjoy it in every way we can!

Today I'm finishing my time as a guest designer with DigiStamp Boutique. I'm thrilled that I was able to design for such a sweet and talented artist and owner at DigiStamp Boutique. Thank you Sally-Ann!


Here's my end of the month reminder to stop on over at the boutique if you haven't lately. She's got some wonderful images for the holiday coming up and I'm certain when the calendar month flips over to February we'll see some more fabulous images to grab up. Here's a linkie for images of love and valentine because I'm an enabler. {wink}

Blessings to your day!

Details:
Paper: Neenah Smooth Solar White, Violet CS
Ink: LaserJet, Prismacolor Markers, PITT Artist pen (outlines around image and violet CS)
Accessories: what? no accessories? ;)

Sunday, January 30, 2011

A Coco Heart


I've got an all time favorite digital stamp image to share today. Coco with Big Heart from DigiStamp Boutique cannot get any more cute! When I first saw this bear a year ago it reminded me of my own stuffed bear named Mocha (for it's fur color) and every time I color Coco those are the Prismacolors I pull off my shelf. I'm hooked.


The card was very easy to pull together... once I had the time. I used some oval nestabilities to cut out my prismacolor marker colored Coco. Then a scalloped oval nestie to frame it up nicely. It's been forever and one day since I've used my Stickles and what better time than when hearts are the theme, so I dotted the scallop mat with Xmas Red. I matted some Love paper from Me and My Big Ideas with kraft text weight paper, then began to pair up some ribbon to criss cross around the bottom of the card. I ended up with some gingham ribbon I bought at JoAnn's $1 display at Christmas and red satin from my 19 penny bag from Hancock Fabrics.

The card base still looked a bit bare so I grabbed a new stamp set from CTMH called Simple Stitches and carefully stamped a narrow zigzag stitch around the Love paper border. I say carefully, because I had already adhered the ribbon AND the mats to the card base.


The sentiment is a fabby ticket Sally-Ann designed and I love that she's got them already colored for a simple addition to any sweet card. You can find the tickets in the Valentine Sentiments collection.


I hope you are all having a sweet and cuddly weekend and hopefully rested for you week ahead.


Details:
Stamps: Coco with Big Heart, Valentine Sentiments, CTMH Simple Stitches
Paper: M&ME Love DP, kraft text, Wausau Cream CS, Neenah Smooth Solar White
Ink: LaserJet, Prismacolor Markers, CTMH Brown Bag
Accessories: Nestabilities Oval and Scallop Oval, perforating blade (ticket), Misc. ribbon, Xmas Red Stickles

Thursday, January 27, 2011

i love you, new toys!


Hi blogging buddies!

You know there is nothing like a new toy to get some creativity flowing and even more when it's a blog hop prize!

I've been drooling over some stamp sets over at Layers of Colors Boutique and I'm certain if I had some extra cash lying around I would buy every one of their stamps. Anyway, I happen to catch their Love Blog Hop on the 17th of this month and I was overwhelmed with gorgeous inspiration. I made a comment on every hop and that just so nicely entered me into a chance to win a stamp prize! And I did, yippee! The Floweret Cling Art Stamp was my prize on Diana's blog.

Now all about my tag, yes I was so inspired I tackled a tag with confidence. I wanted to just play with some different styles with my new stamp, so I grabbed a scrap of kraft paper to test an idea. It turned out so well that I used it as the main image and base of my tag. I first stamped with white ink and tried a No. 2 pencil for shading. I grabbed some paper pastel sticks to color around the image for a background and smeared it with a blending stump. To keep the pastel (chalks) from smearing more I sprayed it with a fixative. (BTW- if you haven't used a fixative before, it will make your paper and pastels look wet and dark, but it dries quickly and back to it's original colors. I've used it many times, but startles me every time I start to spray and see how dark it looks.) The scrap of paper I used had a double embossing from a Sissix Polka Dot folder at the bottom that I had planned to cut away, but then it looked nice with my test image and that's when my experiment turned into a shabby chic tag.


I did order some other stamps set that I'll show on some projects in a few posts from now, but I did use another one on this tag. The Love Chapter is stamped with Creamy Caramel on pattern paper from My Mind's Eye Tres Belle. I trimmed the top and bottom of the pattern paper with some scraps cut out with Tim Holtz' Bracket die and Martha Stewart's Eyelet Lace edge punch, tucking in a basic black PTI jar label for good measure. I framed the floweret image with some more polka dot embossed kraft cardstock by embossing on cardstock larger than the tag so I could position it down in place, then cutting it with the tag edge as my guide. The shabby flower was something I made last year and never used it on a project {blushing}. The flower stamen is a long piece of hemp twine that turns into a stem on the other side. I kept it on and just looped and glued it to the tag. I glued a organdy ribbon bow below the flower as all pretty flowers need one. The last part of the tag is a piece of muslin I stamped with the I Love You stamp and beneath it the verse reference from the "collage" stamp all found in The Love Chapter set. I hole punched the top and ran some cream grosgrain ribbon through it. That's pretty much it!

Have a beautiful evening or day wherever you may be, and as always thanks for stopping by.


Details:
Stamps: Floweret, The Love Chapter
Paper: Kraft, Basic Black, page from old quarterly devotional (flower)
Ink: White Chalk ink pad, paper pastels, a No. 2 pencil and black prismacolor pencil
Accessories: Blue Fixative Spray, Offray grosgrain, hot pink organza ribbon, MS eyelet lace edge punch, Tim Holtz Bracket die, Sissix Polka Dot EF, Nestabilities oval die, hole punch (flower - Marvy flower punch, hemp twine, Ranger walnut ink stain and vintage photo, daisy flower punch, MS glitter, Glossy Accents)

Monday, January 24, 2011

Lovely Together


I'm dropping in with a jazzy card today. I've used Pippa and Sonny with Rose from this month's offer at DigiStamp Boutique. The offer has three adorable images with Pippa and Sonny.


Pippa and Sonny are colored with Prismacolor markers without a color challenge or designer paper as the inspiration. When it came time to put the image on the card I had to dig pretty deep to find something to go with it and I found that in the Butterflies and Blossoms Stack pack. After finding the psychedelic paper, I cut out some hearts from my Cuttlekids collection of dies and colored them the same as the rose Pippa and Sonny are holding. Then I outlined them with black pen and added some dimensionals to make them pop. The sentiment is from Verve's Heart's Desire is stamped in Graphite Black.

When I got to the background I decided it's a new year and it time for a new background technique. I chose two shades of color from my Prismacolor set and started making circles. I've never done this before so I was pleased with how it came out.

Here's a little side view to show off some simple layers.

Here's some new collections Sally-Ann has added to the Boutique. They are darling!


Zoe Princess Collection

Valentine Birds

Thanks for stopping by today!

Details:
Paper: Butterflies and Blossom's stack pack, Neenah White, Basic Black
Ink: Laserjet, Prismacolor Markers, PITT artist black pen, Brilliance Graphite Black
Accessories: Cuttlekids heart dies, Nestabilities Classic Square die

Saturday, January 15, 2011

Happy New Year, With Love and a Moxie Fab Challenge


It's halfway through the first month of 2011 and I'm just now making a post? I'm thinking its going to be a year of busy schedules with school events and activities for us!

Today I'm coming in to the year with love. Love for an image named Sonny with roses. He's ready to give out some flower powered love on the card I made and in such a sweet green argyled day along with a dreamy hillside below a blue cotton candy cloud.


Gray is the New Black Challenge is still on over at Moxie Fab World until January 24th. I was thinking of a unique way to use gray when I wanted to create a comic-book-like outline for the top note shape and cloud on this card.  It just seemed a unique opportunity to use gray where I would have grabbed from some black cardstock.
Hope your day is just the best!

Details:
Paper: blue, white and gray paper scraps, plaid DP from DCWV Flower Shower Spring Pack
Ink: Laser and ink jet, Prismacolor Markers and pencils, SU! pastels
Accessories: SU! Tasteful Trim Die Cut and Top Note, DMC embroidery floss,